

Why This Is One of the Most Common Installs We Do Here
A lot of Malibu's older housing stock, beach bungalows built in the 1950s along the coast and hillside guest houses up in the canyons, was never built with ductwork. Adding central air to a home like that means tearing into walls and ceilings to run ducts, which is expensive and sometimes not even possible depending on the construction. A ductless mini split solves that by moving the heating and cooling work outside the walls entirely.
Here is what actually happens during an install, from the first walkthrough to the final test.
Step One: The Room-By-Room Walkthrough
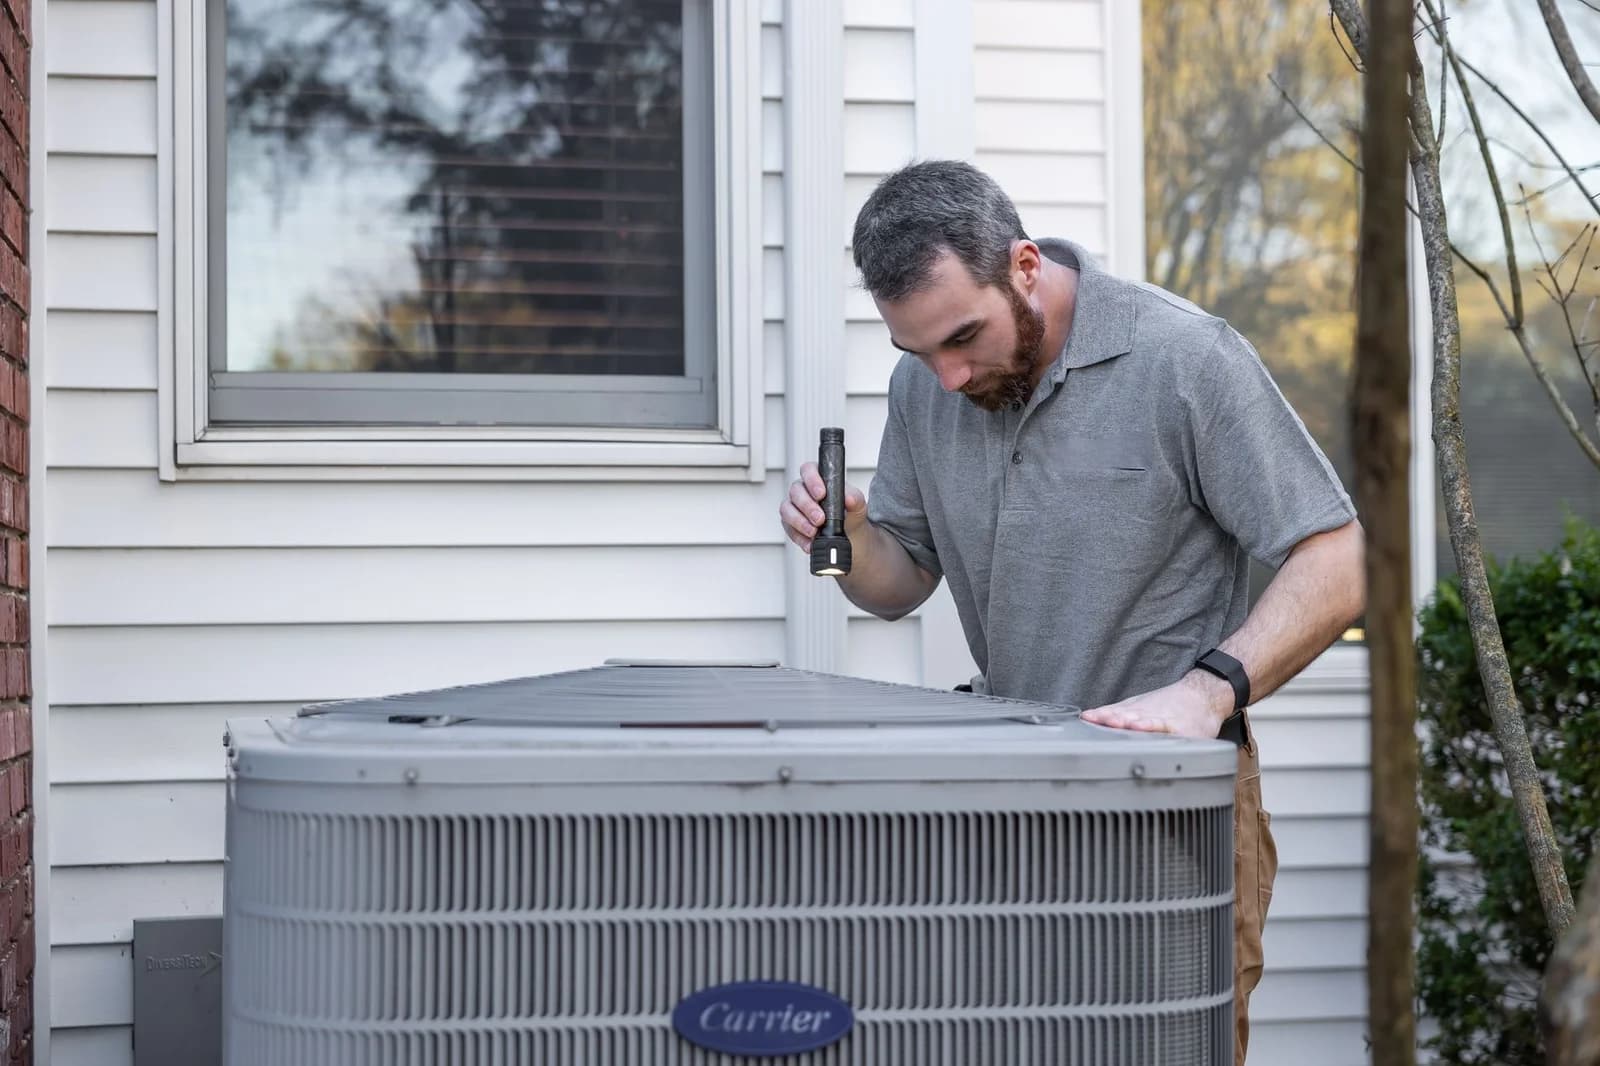
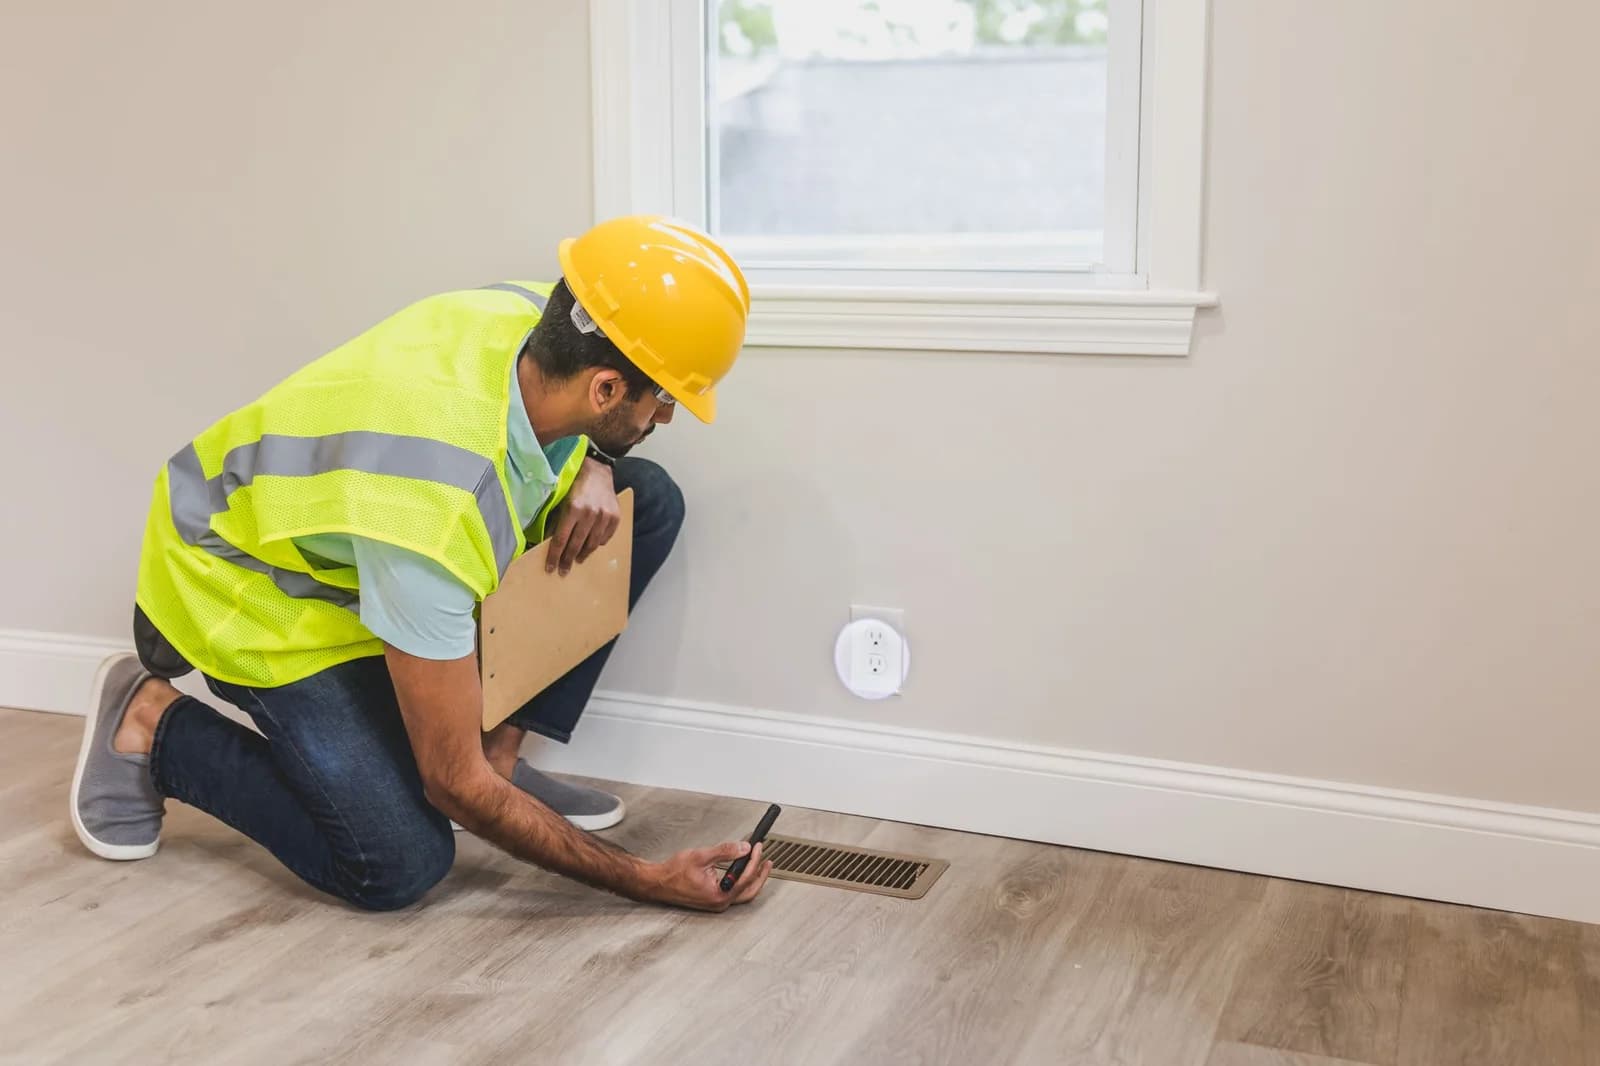
Before anything gets ordered, a technician walks the property room by room. We look at ceiling height, window orientation, insulation condition, and how much direct sun each room gets through the day. A room facing west on a canyon lot in Topanga takes on more afternoon heat than a shaded room on the same property, and sizing the unit for that room needs to reflect the actual load, not a generic square footage number.
Step Two: Deciding Single-Zone or Multi-Zone
For a smaller addition or a single guest house, one outdoor condenser paired with one indoor head is usually enough. For a larger home, or for a seasonal rental property where you want to condition only the rooms actually in use, a multi-zone system with several indoor heads run off one outdoor unit gives you room by room control. This decision gets made during the walkthrough based on how the home is actually used, not just its layout on paper.
Step Three: Electrical Capacity Check
Before we mount anything, we confirm the home's electrical panel has capacity for the new equipment. Older beach bungalows sometimes have panels that were never upgraded past their original build, and that gets flagged and addressed before installation day rather than discovered partway through the job.
Step Four: Planning the Line Set Route
The line set, the refrigerant lines connecting the indoor and outdoor units, has to route through a wall or along an exterior surface. On a canyon property, that route might run along an exterior wall to reach an outdoor unit placed away from a bedroom window to keep noise down. On a coastal property, we plan the route to minimize the length of line set exposed to salt air, since less exposed line means less long term corrosion risk.
Step Five: Mounting the Indoor Unit
The indoor head gets mounted at the height and location determined during the walkthrough, typically high on a wall for even air distribution across the room. We confirm the mounting bracket is level and secure before running any lines, since an improperly mounted unit can develop condensate drainage problems later.
Step Six: Placing and Securing the Outdoor Unit
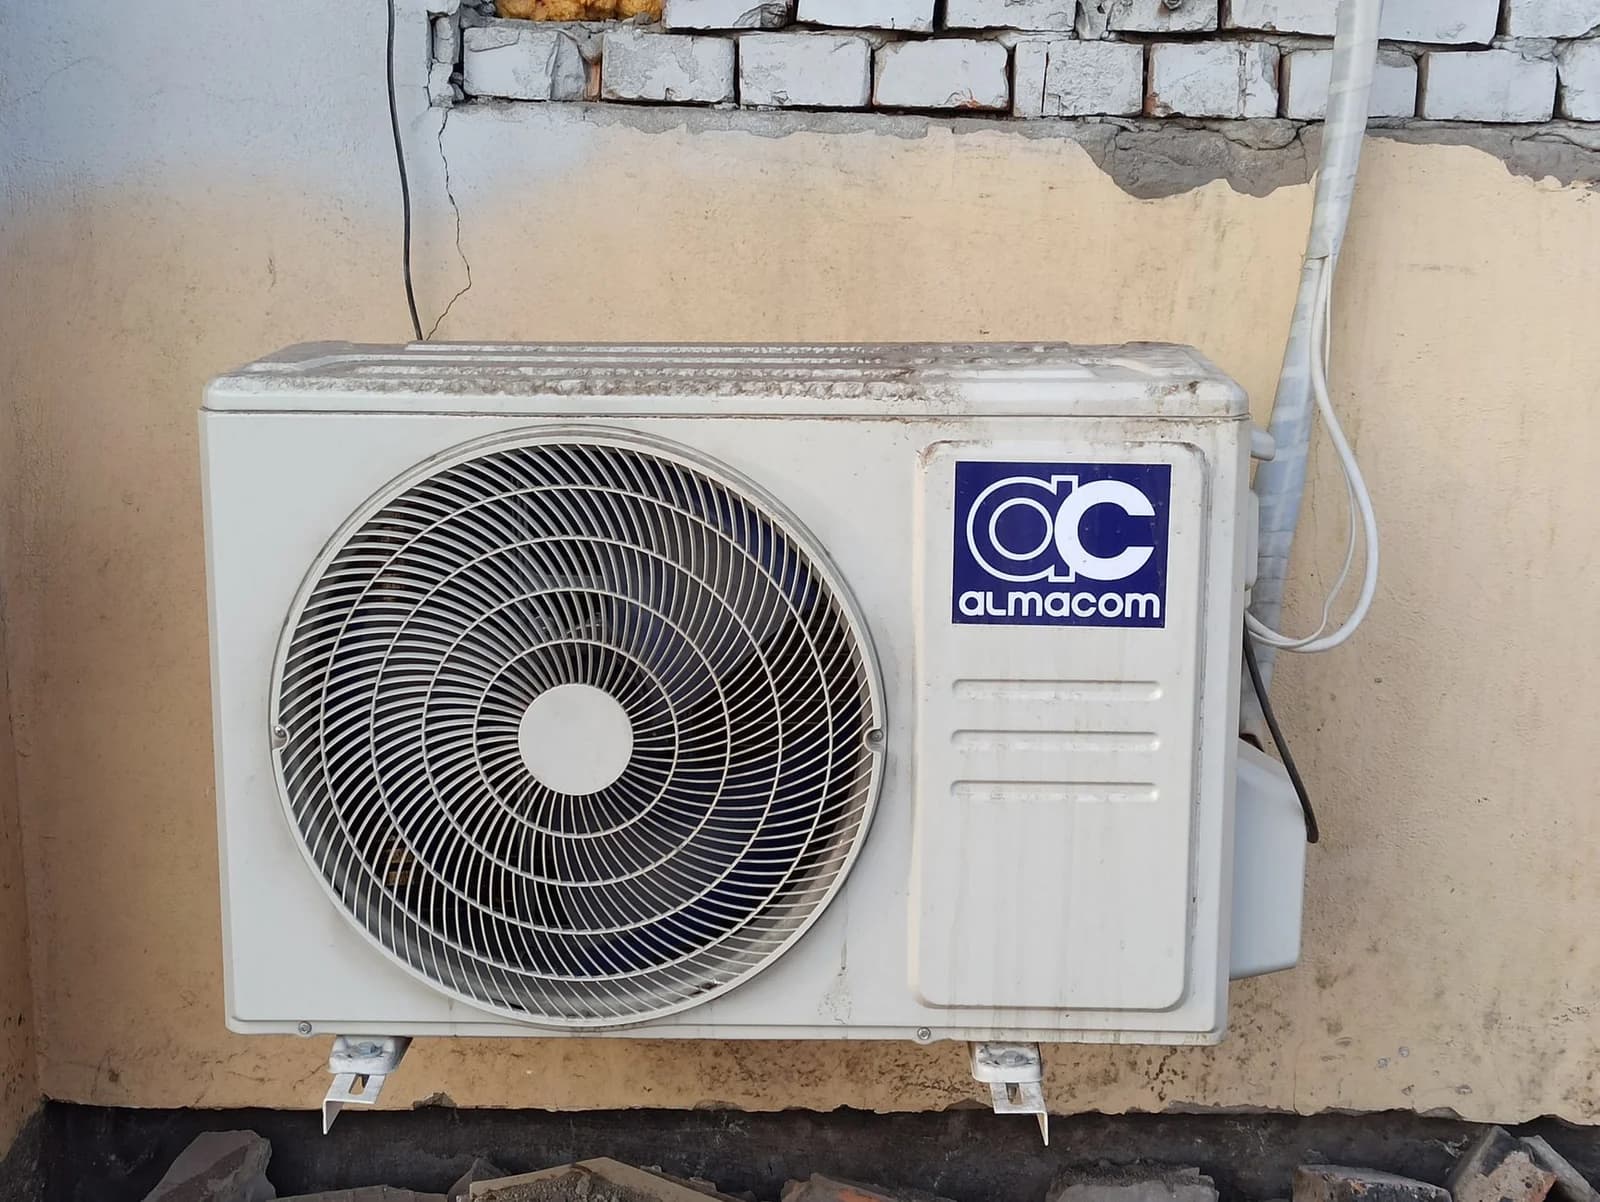
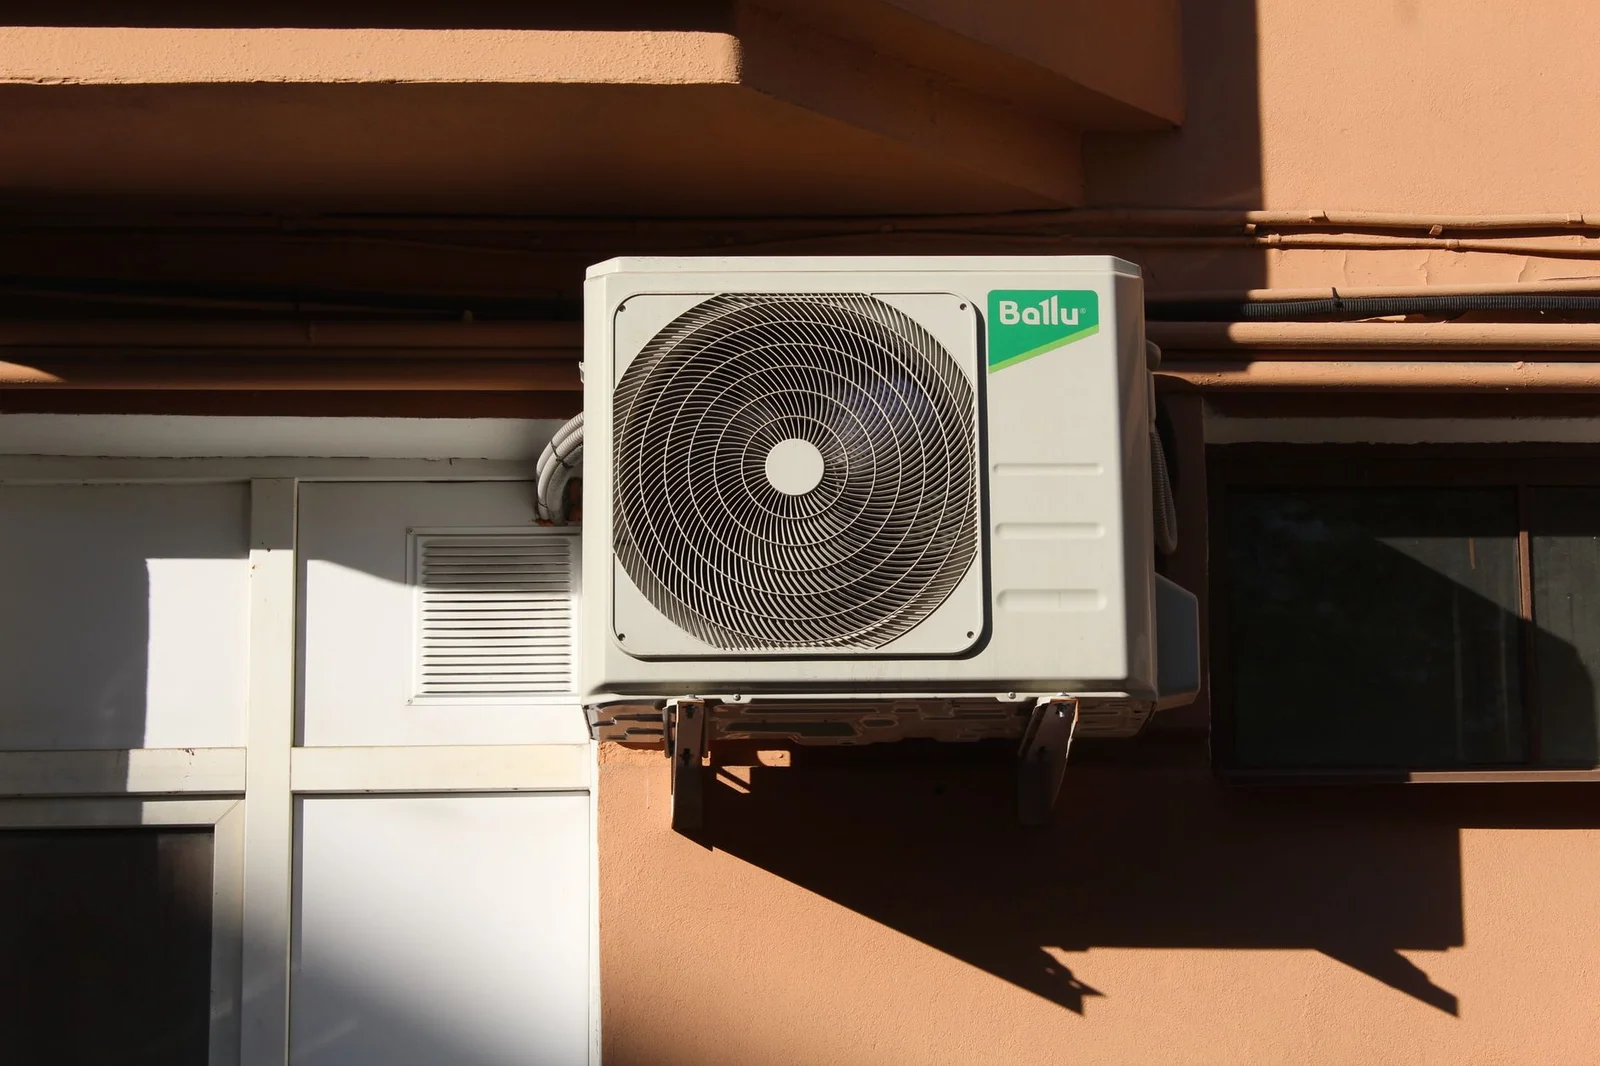
The outdoor condenser needs a spot with clearance for airflow, ideally protected somewhat from direct salt spray if the property sits close to the water. In HOA governed communities like Serra Retreat or The Oaks in Calabasas, placement also has to account for screening rules that keep the unit out of street view while still leaving enough clearance on all sides for the unit to breathe. We coordinate this with HOA requirements as part of the install rather than leaving a homeowner to sort it out afterward.
Step Seven: Running Lines and Making the Connections
With both units mounted, we run the line set, drain line, and electrical connections between them, then seal the wall penetration against moisture and pests. This step is where careful work matters most, since a poorly sealed penetration becomes a path for both water intrusion and the salt laden air that accelerates corrosion on components inside the wall cavity.
Step Eight: Vacuum, Charge, and Pressure Test
Before the system runs for the first time, we pull a vacuum on the line set to remove air and moisture, then confirm the refrigerant charge matches the manufacturer's specification for the line length installed. We pressure test the system to confirm there is no leak at any connection before calling the job finished.
Step Nine: Testing Every Zone
For a multi-zone system, we run each indoor head through a full heating and cooling cycle individually, confirming each zone responds correctly and independently of the others. A zone that does not respond on its own defeats the purpose of installing a multi-zone system in the first place, so this gets verified before we leave, not assumed.
Step Ten: Walking You Through the Controls
The last step is sitting down with you and going through the remote or app controls in plain language: how to set a schedule, how to switch between zones, and what the different mode settings actually do. A system you do not know how to operate is not much better than one that is not installed correctly.
What Gets Documented
At the end of the install, you get a record of what was installed: the model and capacity of each indoor and outdoor unit, where lines were routed, what electrical work was done, and the refrigerant charge and pressure test results. If the property is in a permit required jurisdiction, that documentation supports the permit record as well.
Why This Fits Seasonal Rentals Especially Well
For a rental property in Point Dume or the Malibu Colony area that sits empty for stretches between bookings, zone control means you are not conditioning empty rooms. Combined with a smart thermostat setup, an owner can also set limits remotely so a system is not run at extremes by a guest who will not be paying the electric bill.
Sound Levels Get Considered During Placement
Indoor heads and outdoor condensers both make some operating noise, and where we place each one accounts for that. An indoor head goes where it will not sit directly over a headboard if we can help it, and an outdoor unit gets positioned with some distance from bedroom windows on tightly spaced lots. This matters more in gated communities where homes sit close together than it does on a larger canyon parcel with more room to work with, and we walk the property with that in mind before anything gets mounted.
What Happens If the Walkthrough Finds a Bigger Issue First
Sometimes the room-by-room walkthrough turns up something beyond the scope of a straightforward install, an electrical panel that cannot support the new equipment without an upgrade, or framing that makes a planned line set route impossible. When that happens, we tell you before ordering equipment, not after. You get options: upgrade the panel as part of the project, adjust the line set route to work around the framing, or reconsider the zone layout so the job fits what the property can actually support.
Guest Houses and ADUs Get the Same Attention as the Main House
A detached guest house or an ADU sometimes gets treated as an afterthought in a larger property's cooling and heating plan, but it goes through the same room-by-room walkthrough as the primary residence. Ceiling height, sun exposure, and electrical capacity all get checked independently, since a small structure with a lot of glass can actually need more cooling capacity per square foot than the main house sitting next to it.
Getting Your Property Evaluated
If your home does not have ductwork, or if you are considering a mini split for a guest house, ADU, or addition anywhere across Malibu, Topanga, Pacific Palisades, Zuma Beach, Point Dume, or Calabasas, call us at (877) 716-8328. A walkthrough visit tells you what the install would actually involve for your specific layout, not a generic estimate over the phone.
Need Professional HVAC Service?
Our HVAC-experienced technicians are ready to help with all your AC and heating needs. Contact Malibu AirCon Services today for expert service throughout the the Pacific Coast service area.